Installing Shield Package Integration
ByteHide Shield Integration enables seamless protection for your .NET applications by integrating directly into your build process. The protection occurs automatically during compilation, whether you're using Visual Studio, GitHub Actions, Azure DevOps, AWS CodeBuild, or any other CI/CD platform.
Installation Methods
Project-Specific Installation
Shield Integration should be installed individually in each project you want to protect. If your solution contains multiple projects, install the package only in the specific projects that require protection. Installing it in all projects but only configuring some can lead to build errors.
Method 1: Using NuGet Package Manager (Visual Studio)
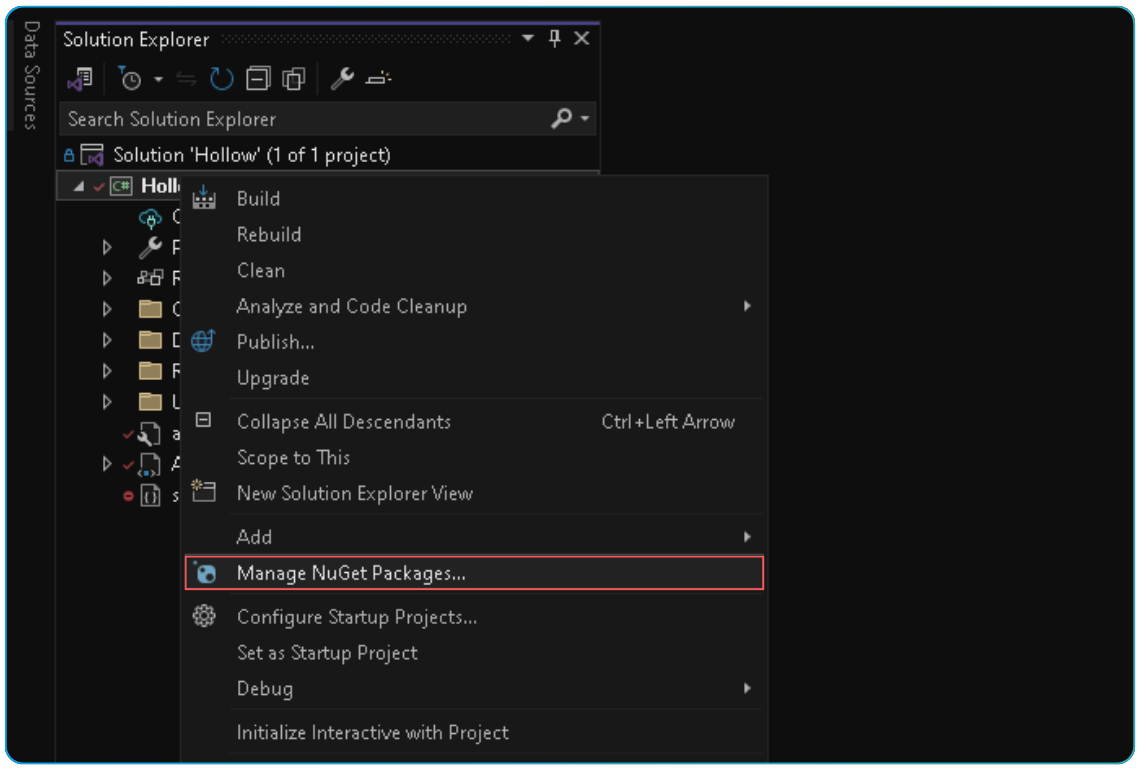
Open Package Manager:
- Right-click on your project in Solution Explorer
- Select "Manage NuGet Packages..."
 Click to expand
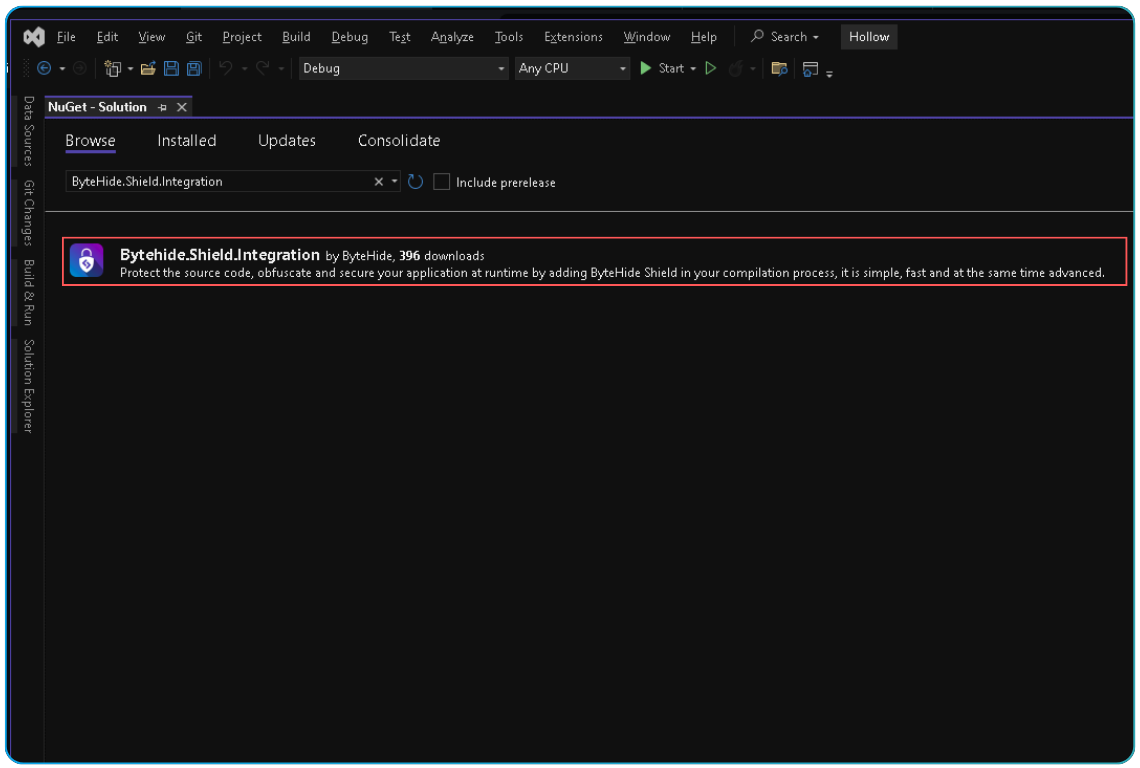
Search for the package:
- In the search bar, type
ByteHide.Shield.Integration - Ensure "Include prerelease" is unchecked unless you need a prerelease version
 Click to expand
- In the search bar, type
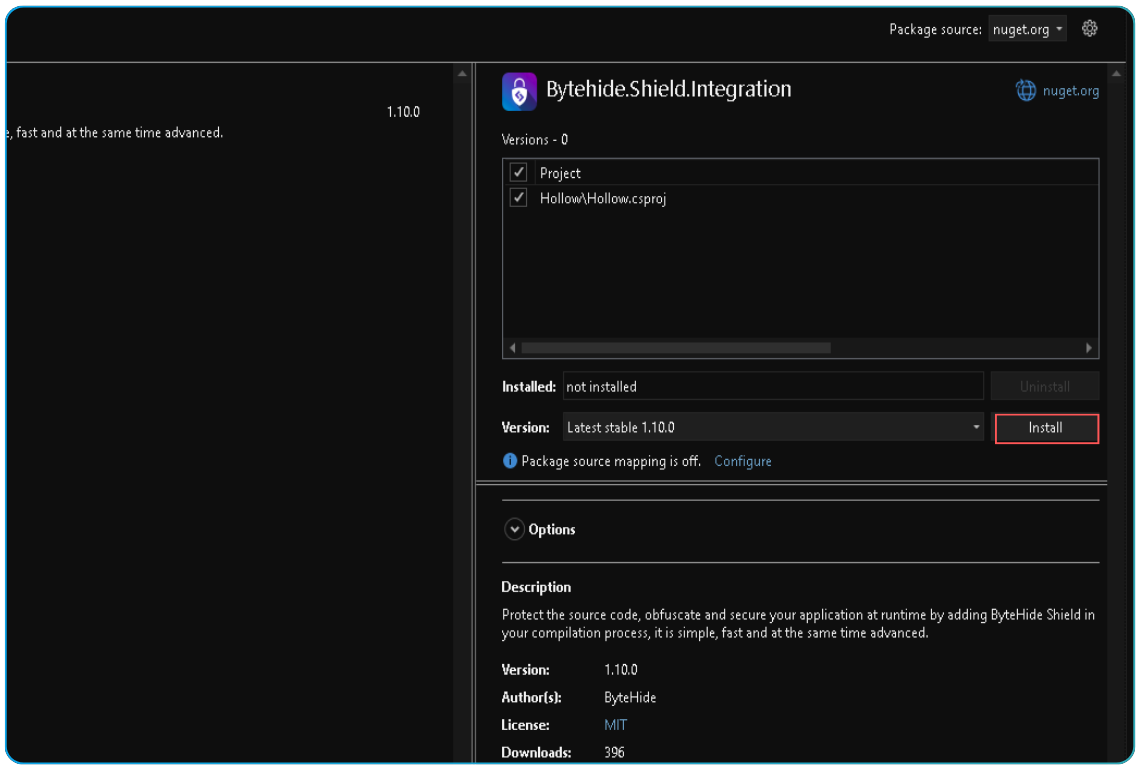
Install the package:
- Select the latest stable version
- Click "Install"
- Accept any license agreements if prompted
 Click to expand
Method 2: Using Package Manager Console
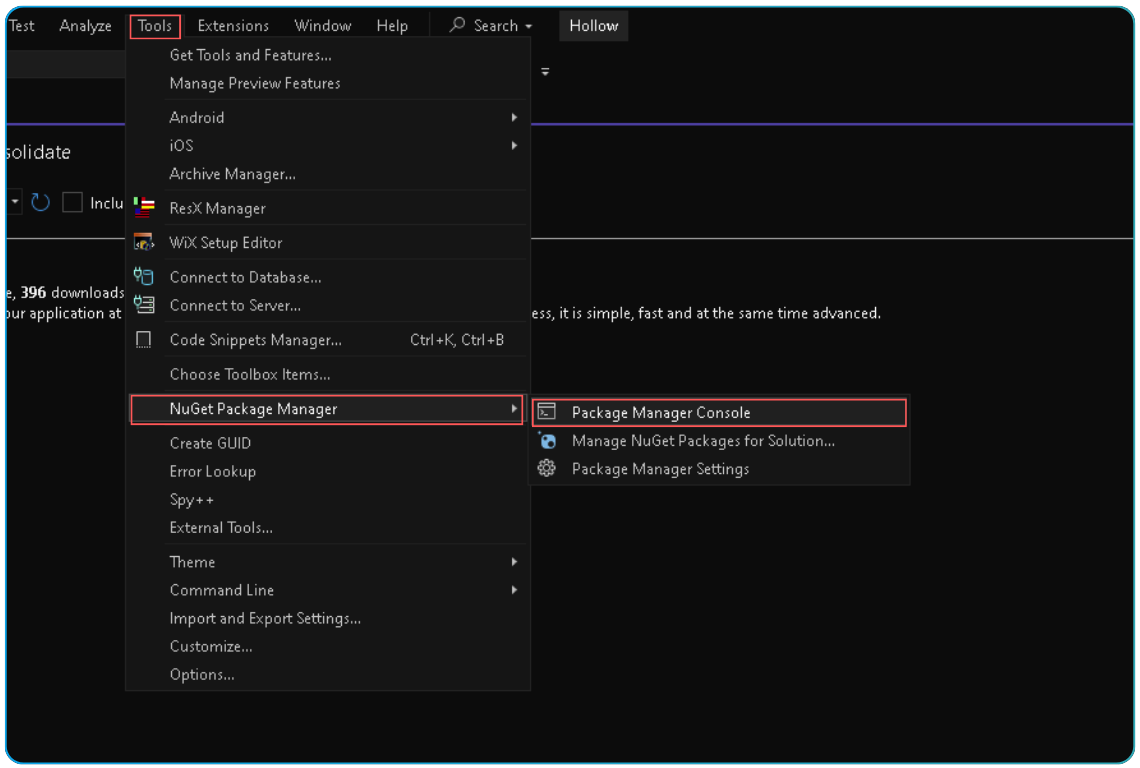
Open Package Manager Console:
- Navigate to
Tools > NuGet Package Manager > Package Manager Console
 Click to expand
- Navigate to
Run the install command:
POWERSHELLInstall-Package ByteHide.Shield.IntegrationInstall-Package ByteHide.Shield.Integration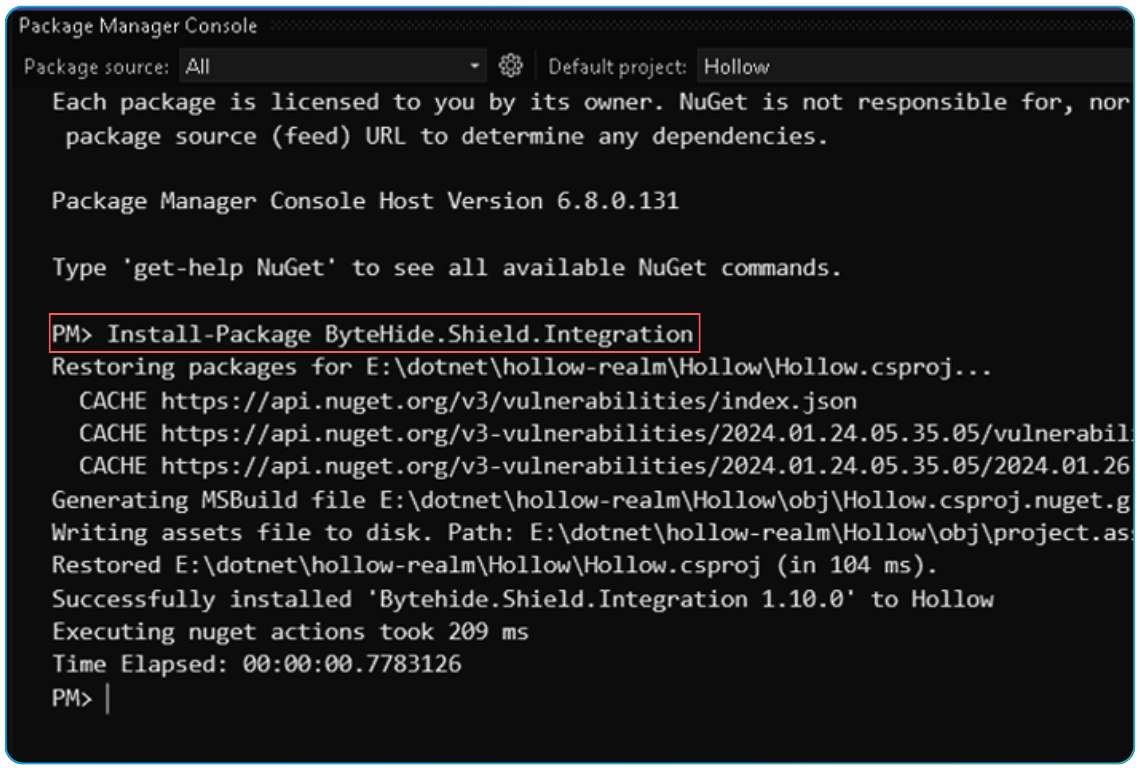 Click to expand
Method 3: Editing Project File Directly
Edit your .csproj or .fsproj file:
- Right-click on your project and select "Edit Project File"
- Add the following within the
<ItemGroup>section:
XML<PackageReference Include="Bytehide.Shield.Integration" Version="3.1.0"> <PrivateAssets>all</PrivateAssets> <IncludeAssets>runtime; build; native; contentfiles; analyzers</IncludeAssets> </PackageReference><PackageReference Include="Bytehide.Shield.Integration" Version="3.1.0"> <PrivateAssets>all</PrivateAssets> <IncludeAssets>runtime; build; native; contentfiles; analyzers</IncludeAssets> </PackageReference>
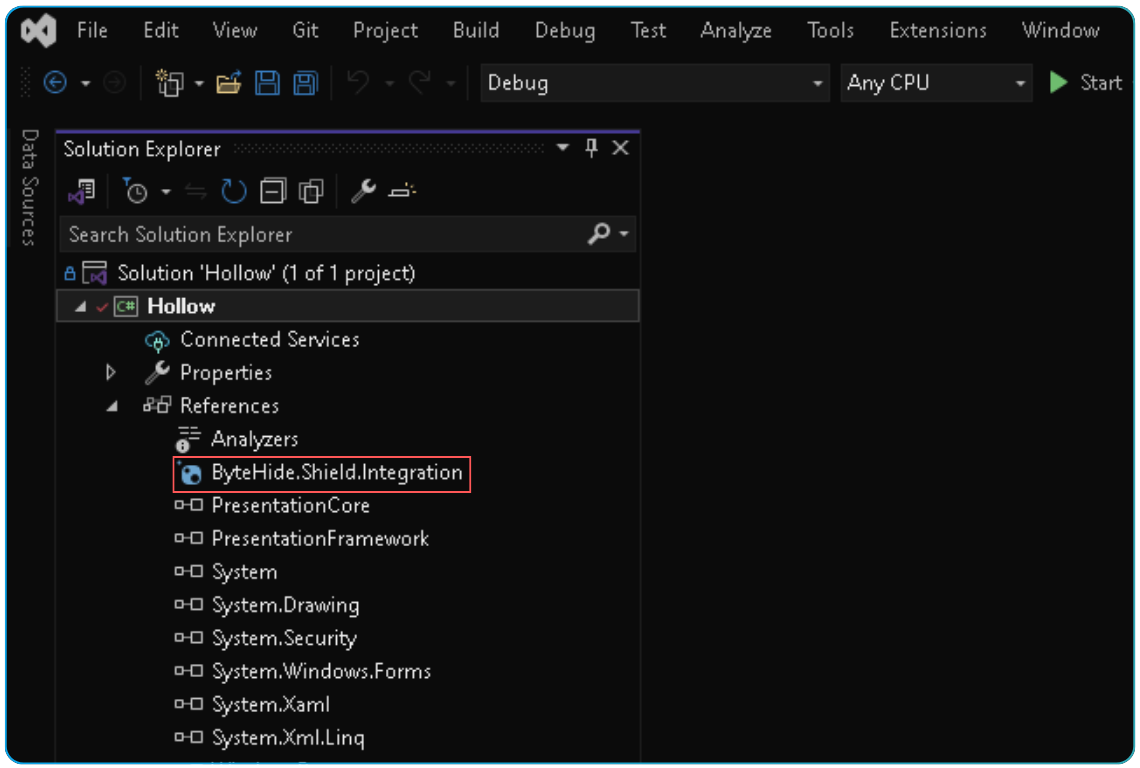
Verifying Installation
After installing the package:
Check the Dependencies:
- Expand your project's "Dependencies" or "References" node
- Verify that
ByteHide.Shield.Integrationis listed
 Click to expand
Rebuild your project:
- Shield Integration is applied during the build process
- You must rebuild your project for the protection to take effect
Next Steps
Once you've successfully installed Shield Integration, you'll need to:
- Create a configuration file (
shield.config.json) in your project root - Rebuild your project to apply protection
See the Configuration Files documentation for details on how to configure Shield.
Troubleshooting
If you encounter any issues during installation:
- Ensure you have the required .NET SDK installed
- Check for any conflicts with other obfuscation tools
- Verify your project targets a supported framework version
- Try cleaning the solution and rebuilding
- Check your package source settings if the package cannot be found