Configuration Setup
The content of this article is also available as a video tutorial.
First steps with msbuild (6 min)Getting Started with Shield Configuration
After installing the ByteHide Shield Integration package, you need to create a configuration file to authenticate and customize your protection settings.
1. Create a Configuration File
Create a file named shield.config.json in the root directory of your project (where your .csproj file is located):
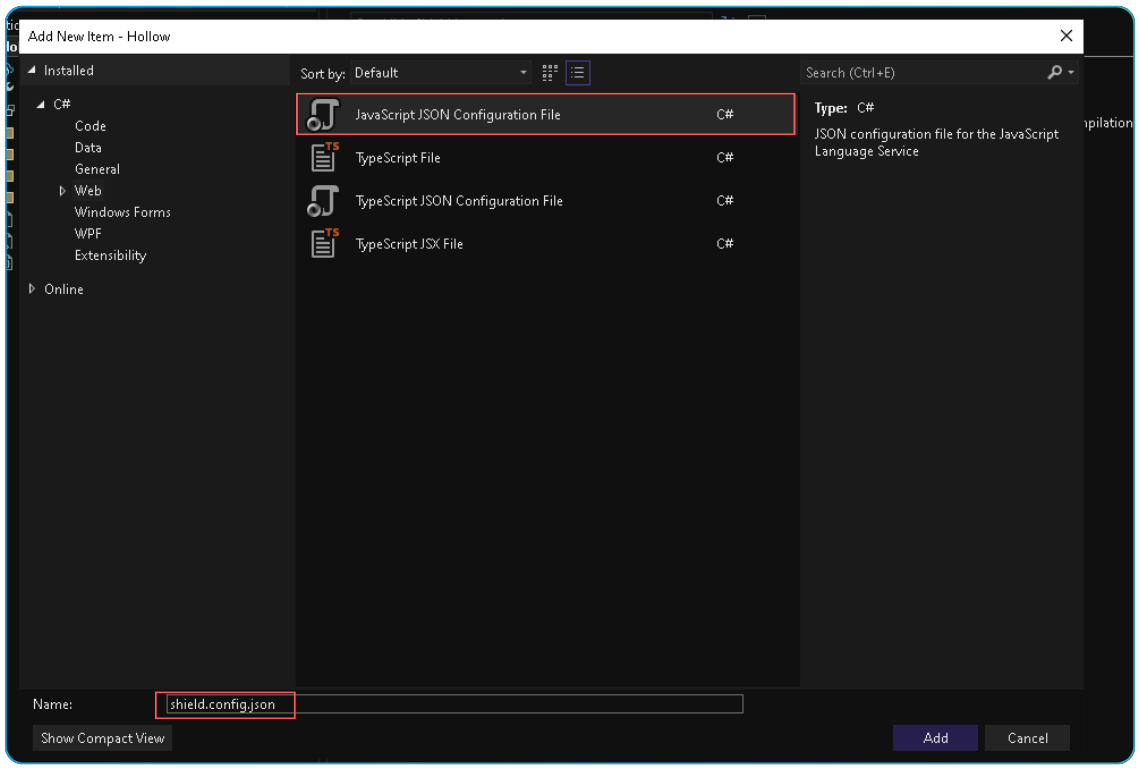 Click to expand
2. Add the JSON content
{
  "Name": "My Application Protection",
  "RunConfiguration": "*",
  "ProjectToken": "<your-project-token-here>",
  "Preset": "custom",
  "Protections": {
    "rename": {},
    "anti_debug": {},
    "control_flow_advance": {}
  }
}
{
"Name": "My Application Protection",
"RunConfiguration": "*",
"ProjectToken": "<your-project-token-here>",
"Preset": "custom",
"Protections": {
"rename": {},
"anti_debug": {},
"control_flow_advance": {}
}
}Your file should resemble the following:
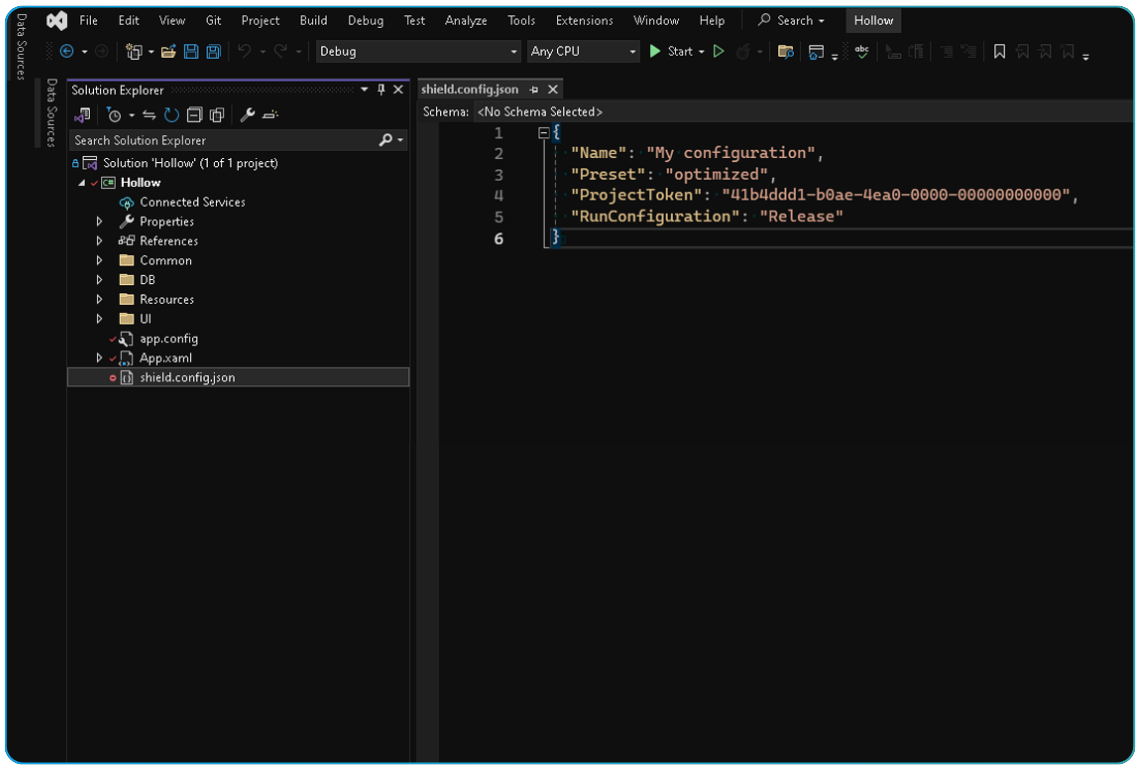 Click to expand
3. Add Your Project Token
Obtain your project token from the ByteHide panel and add it to your configuration file:
{
  "ProjectToken": "<token>",
}
{
"ProjectToken": "<token>",
}Don't know how to get your project token? Check the Project Token documentation.
Your project token is sensitive data. We recommend using the environment variable BYTEHIDE_SHIELD_TOKEN or ByteHide Secrets to avoid exposing it in your repository.
4. Build Your Project
Once your configuration file is in place, build your project in Release mode. Shield will automatically apply the specified protections during the build process.
Basic Configuration Options
Protection Presets
Shield offers predefined protection configurations to simplify setup:
{
  "Preset": "balance"
}
{
"Preset": "balance"
}Available options:
- maximum: Highest security level, applying all available protections
- balance: Strong security while maintaining good performance (recommended)
- optimization: Focus on performance while still providing protection
- custom: Define your own set of protections
Run Configuration
By default, Shield only runs during Release builds. You can change this:
{
  "RunConfiguration": "Release"
}
{
"RunConfiguration": "Release"
}Options:
"Release": Only protect Release builds"Debug": Only protect Debug builds"*": Protect all build configurations
Enable/Disable Protection
Temporarily disable Shield without removing it:
{
  "Enabled": false
}
{
"Enabled": false
}Custom Protections
When using the "custom" preset, specify which protections to apply:
{
  "Protections": {
    "rename": {
      "rename_public": true,
      "mode": "letters"
    },
    "anti_debug": {},
    "control_flow_advance": {},
    "constants_protection": {}
  }
}
{
"Protections": {
"rename": {
"rename_public": true,
"mode": "letters"
},
"anti_debug": {},
"control_flow_advance": {},
"constants_protection": {}
}
}For a complete list of available protections and their options, see the Shield Protections documentation.
Advanced Configuration
The simple setup above is sufficient for most applications. For more advanced configuration options like:
- Specific protection parameters
- Strong name signing
- Custom output paths
- Exclusion rules
Refer to the detailed Shield Configuration Files documentation.
Shield Configuration Files
Complete configuration options for ByteHide Shield
Shield Protections
Detailed information about available protections
Exclusion Rules
How to exclude parts of your code from protection
Signed Assemblies
How to configure Shield with signed assemblies