iOS Installation - CocoaPods
Install ByteHide Monitor in your iOS project using CocoaPods. This is the recommended method — it automatically configures the build-time signing scripts.
Requirements
- Xcode 14 or later
- iOS Deployment Target: 12.0+
- Languages: Swift 5.5+ or Objective-C
- CocoaPods 1.11+
Step 1: Add to Podfile
Option A: From CocoaPods Trunk (recommended)
ByteHide Monitor is published on CocoaPods Trunk. Add it to your Podfile:
target 'YourApp' do
  pod 'ByteHideMonitor'
end
target 'YourApp' do
pod 'ByteHideMonitor'
endTo pin a specific version:
target 'YourApp' do
  pod 'ByteHideMonitor', '~> 1.0'
end
target 'YourApp' do
pod 'ByteHideMonitor', '~> 1.0'
endOption B: From GitHub URL
If the pod is not yet available on Trunk or you want to point to a specific release:
target 'YourApp' do
  pod 'ByteHideMonitor', :git => 'https://github.com/bytehide/ByteHideMonitor-iOS.git', :tag => 'v1.0.8'
end
target 'YourApp' do
pod 'ByteHideMonitor', :git => 'https://github.com/bytehide/ByteHideMonitor-iOS.git', :tag => 'v1.0.8'
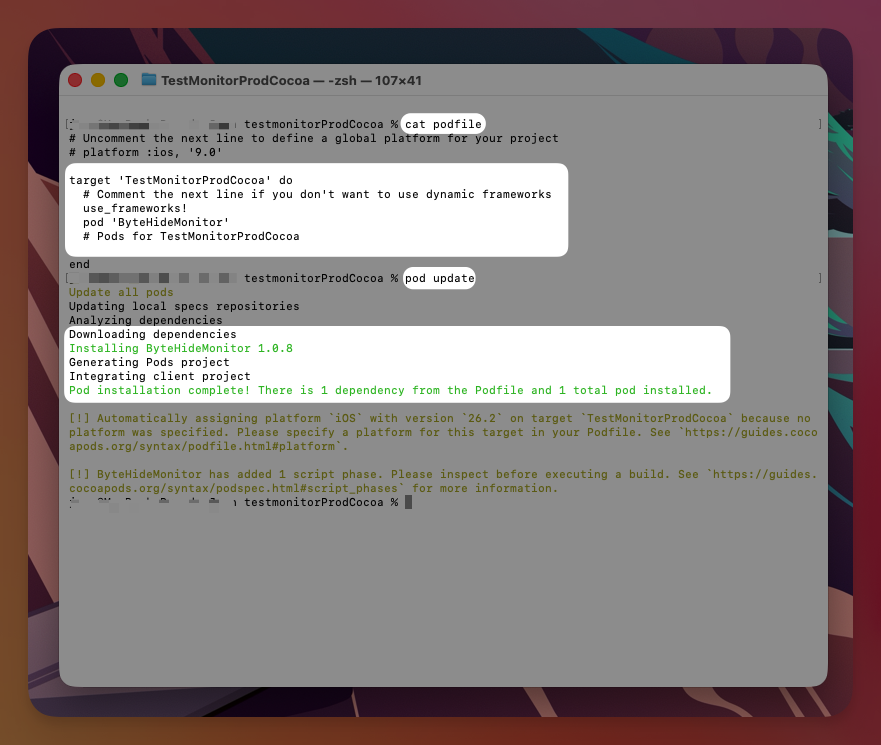
endStep 2: Install
pod installpod installThis automatically downloads the ByteHide Monitor xcframework, adds the Sign Assembly build phase to your app target, and includes the sign-assembly.sh script in the project.
 Click to expand
From now on, always open the .xcworkspace file (not .xcodeproj).
Step 3: Configure Your API Token
You need to provide your ByteHide project token so the SDK can validate your license at build time and connect to the dashboard at runtime. Choose one of these methods:
Option A: JSON config file (recommended)
Create monitor-config.json in your project root (same directory as your .xcodeproj and Podfile):
{
  "apiToken": "bh_your_project_key"
}
{
"apiToken": "bh_your_project_key"
}Add to app bundle
Make sure monitor-config.json is included in your app target so it gets copied into the .app bundle:
- Drag
monitor-config.jsoninto your Xcode project navigator - Check "Copy items if needed"
- Select your app target under "Add to targets"
Option B: Info.plist
Add to your Info.plist:
<key>ByteHideMonitor</key>
<dict>
    <key>APIToken</key>
    <string>bh_your_project_key</string>
</dict><key>ByteHideMonitor</key>
<dict>
<key>APIToken</key>
<string>bh_your_project_key</string>
</dict>Option C: Environment variable (useful for CI/CD)
Set BYTEHIDE_TOKEN as an environment variable. In Xcode: Edit Scheme > Run > Arguments > Environment Variables, or in your CI/CD pipeline:
export BYTEHIDE_TOKEN=bh_your_project_keyexport BYTEHIDE_TOKEN=bh_your_project_keyToken resolution order
Monitor resolves the project token in this order: BYTEHIDE_MONITOR_TOKEN env var → BYTEHIDE_TOKEN env var → apiToken in monitor-config.json → ByteHideMonitor > APIToken in Info.plist → Code configuration.
Get your project key at cloud.bytehide.com.
Step 4: Build and Run
Build your project. You should see in the build log:
ByteHide Monitor: Assembly signed successfullyByteHide Monitor: Assembly signed successfullyAnd in the runtime console:
[ByteHideMonitor] Initializing...
[ByteHideMonitor] Validating signature
[ByteHideMonitor] Signature validated successfully
[ByteHideMonitor] Configuring...
[ByteHideMonitor] Initializing...
[ByteHideMonitor] Validating signature
[ByteHideMonitor] Signature validated successfully
[ByteHideMonitor] Configuring...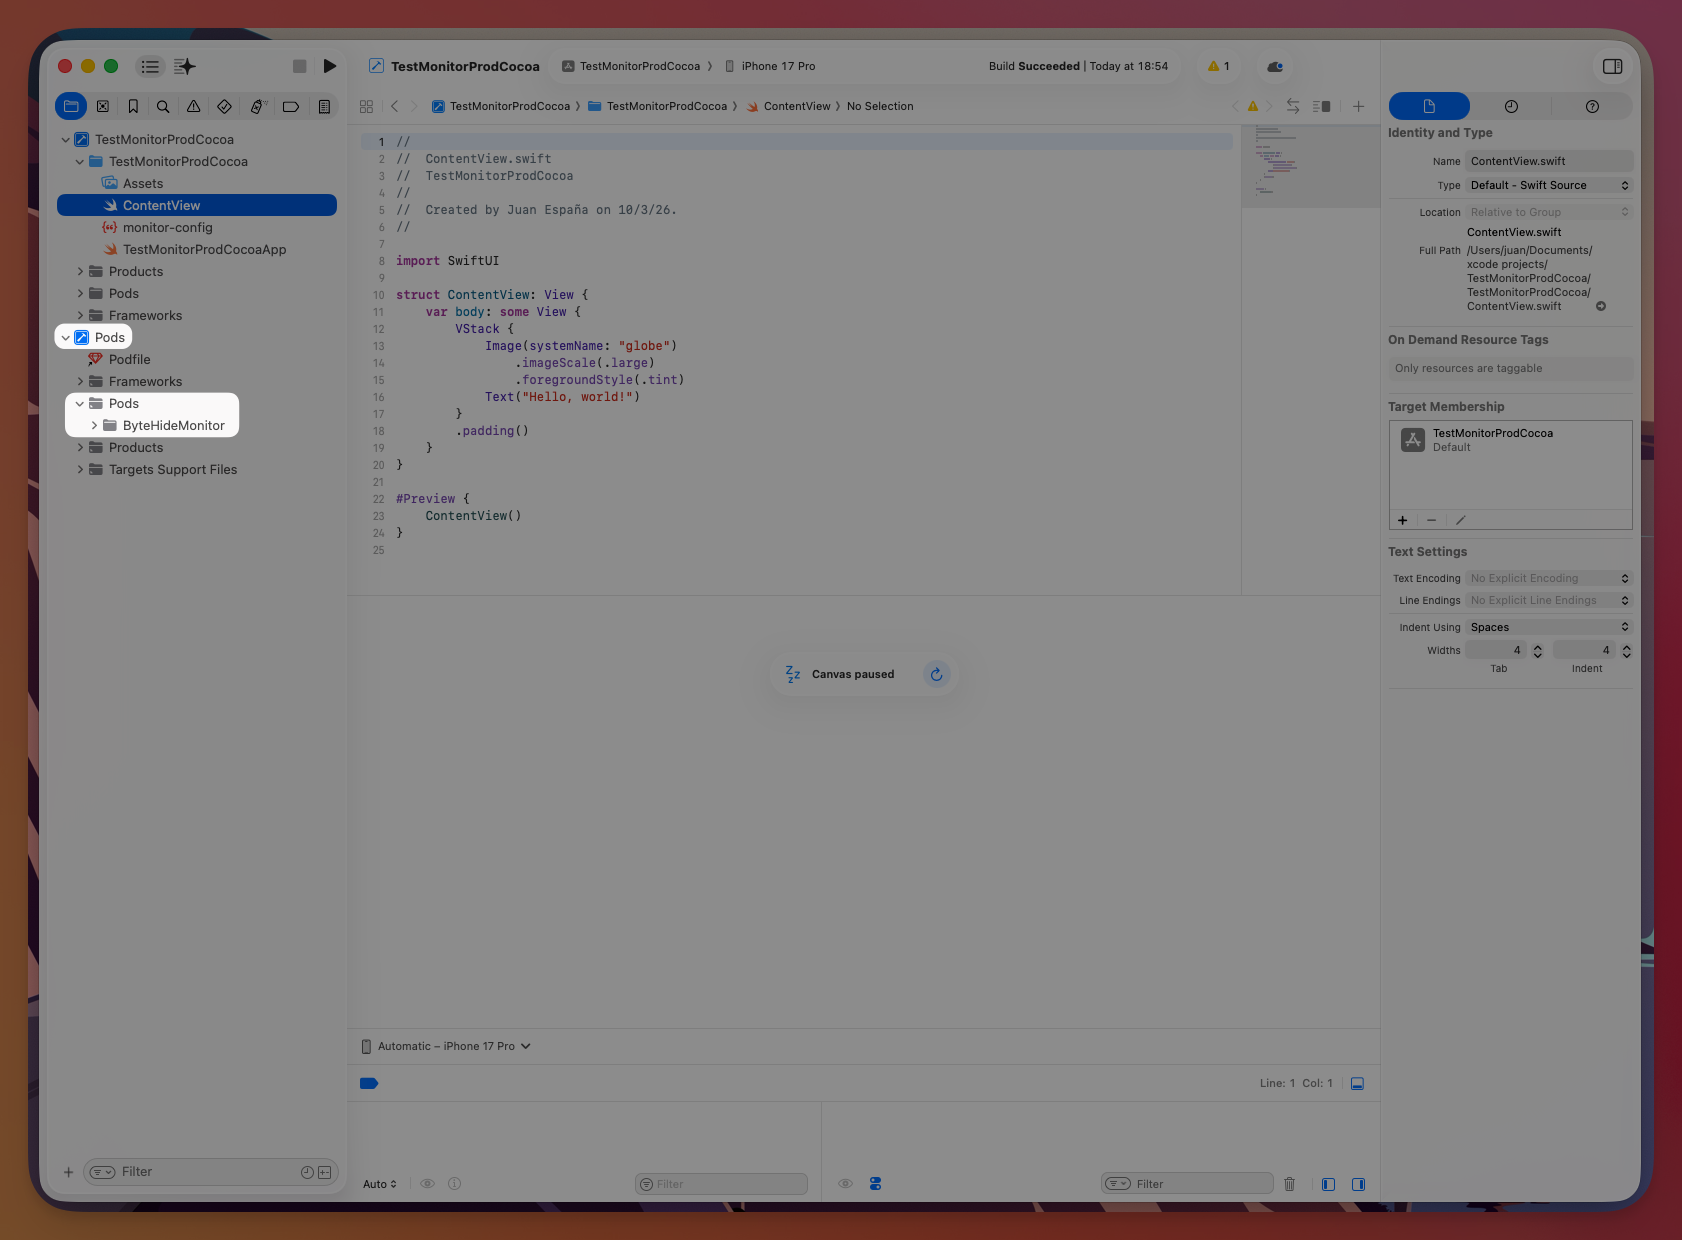 Click to expand
That's it. ByteHide Monitor is now protecting your app.
Updating
pod update ByteHideMonitorpod update ByteHideMonitorOr change the version in your Podfile and run pod install.
Troubleshooting
"No monitor.sig found" at runtime: The signing script ran but wrote to the wrong location. Verify monitor-config.json exists in your project root with a valid token. Clean build folder (Product > Clean Build Folder) and rebuild.
"No project key found for assembly signing": Check that monitor-config.json is in the project root (parent of Pods/), the file contains a valid apiToken value, and the token starts with bh_. Alternatively, set the BYTEHIDE_TOKEN environment variable.
Pod not found: Run pod repo update then pod install. If it still doesn't work, use the GitHub URL method in Option B above.
"Assembly signed successfully" but no runtime protection: Make sure monitor-config.json is included in your app bundle. Select the file in Xcode's project navigator and verify your app target is selected under Target Membership in the File Inspector.