Creating a Monitor Project
Create a Monitor project to get your project token and start protecting your .NET application.
Create a Project
- Go to cloud.bytehide.com and log in
- Click + Create Project
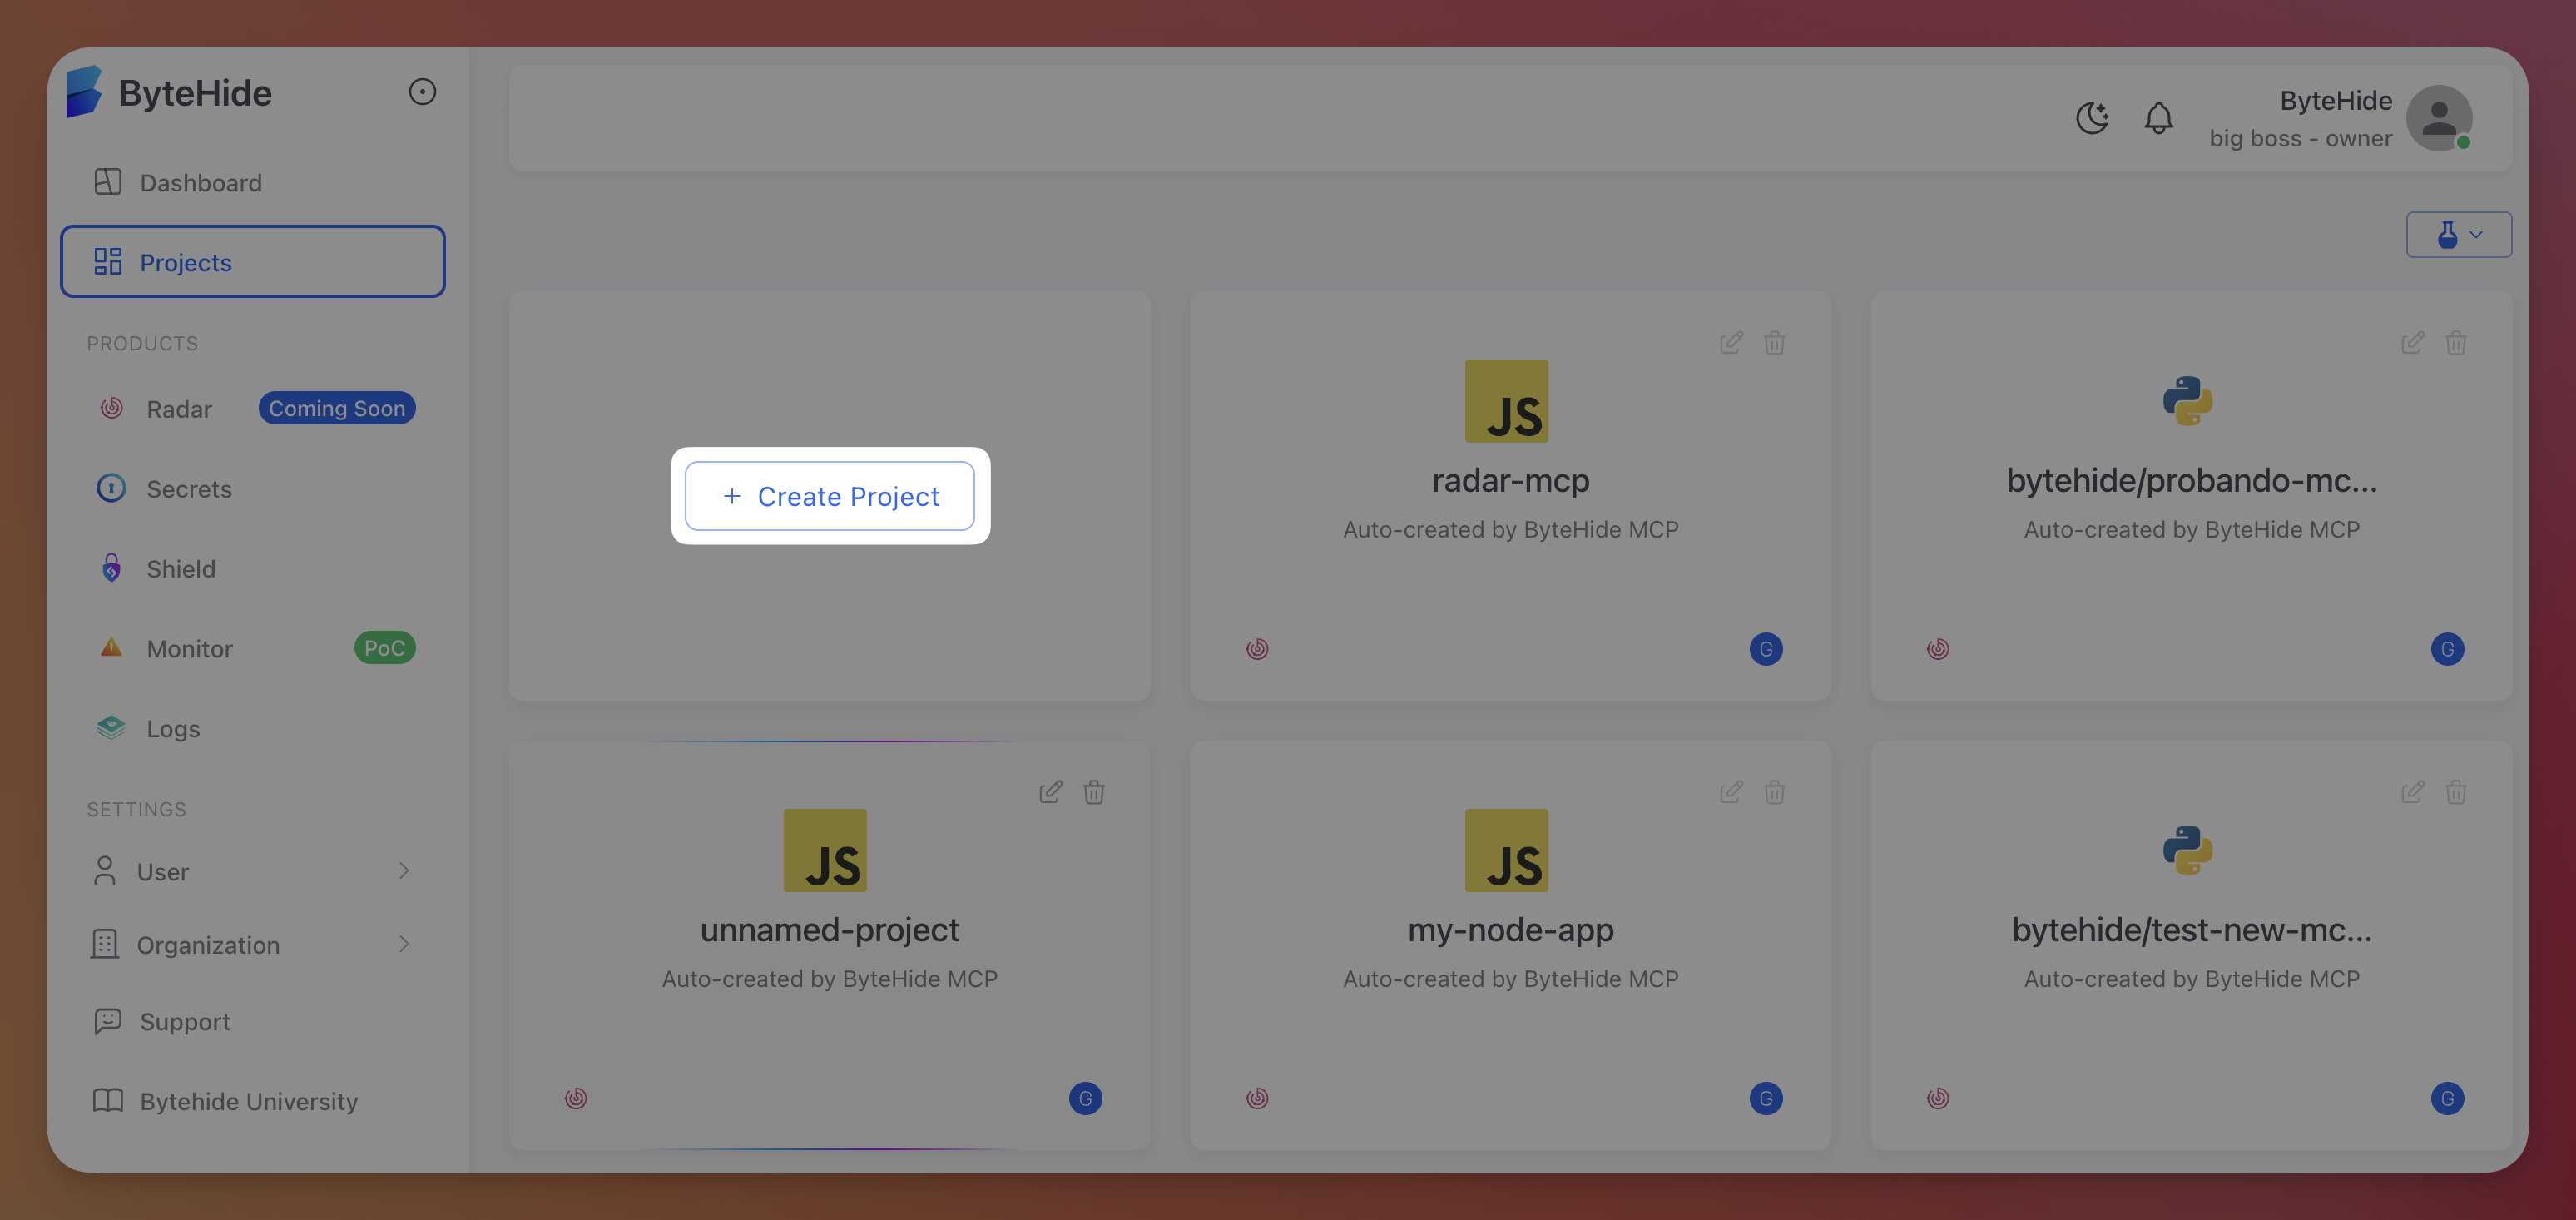 Click to expand
- Select .NET as the language
- Select Monitor as the product
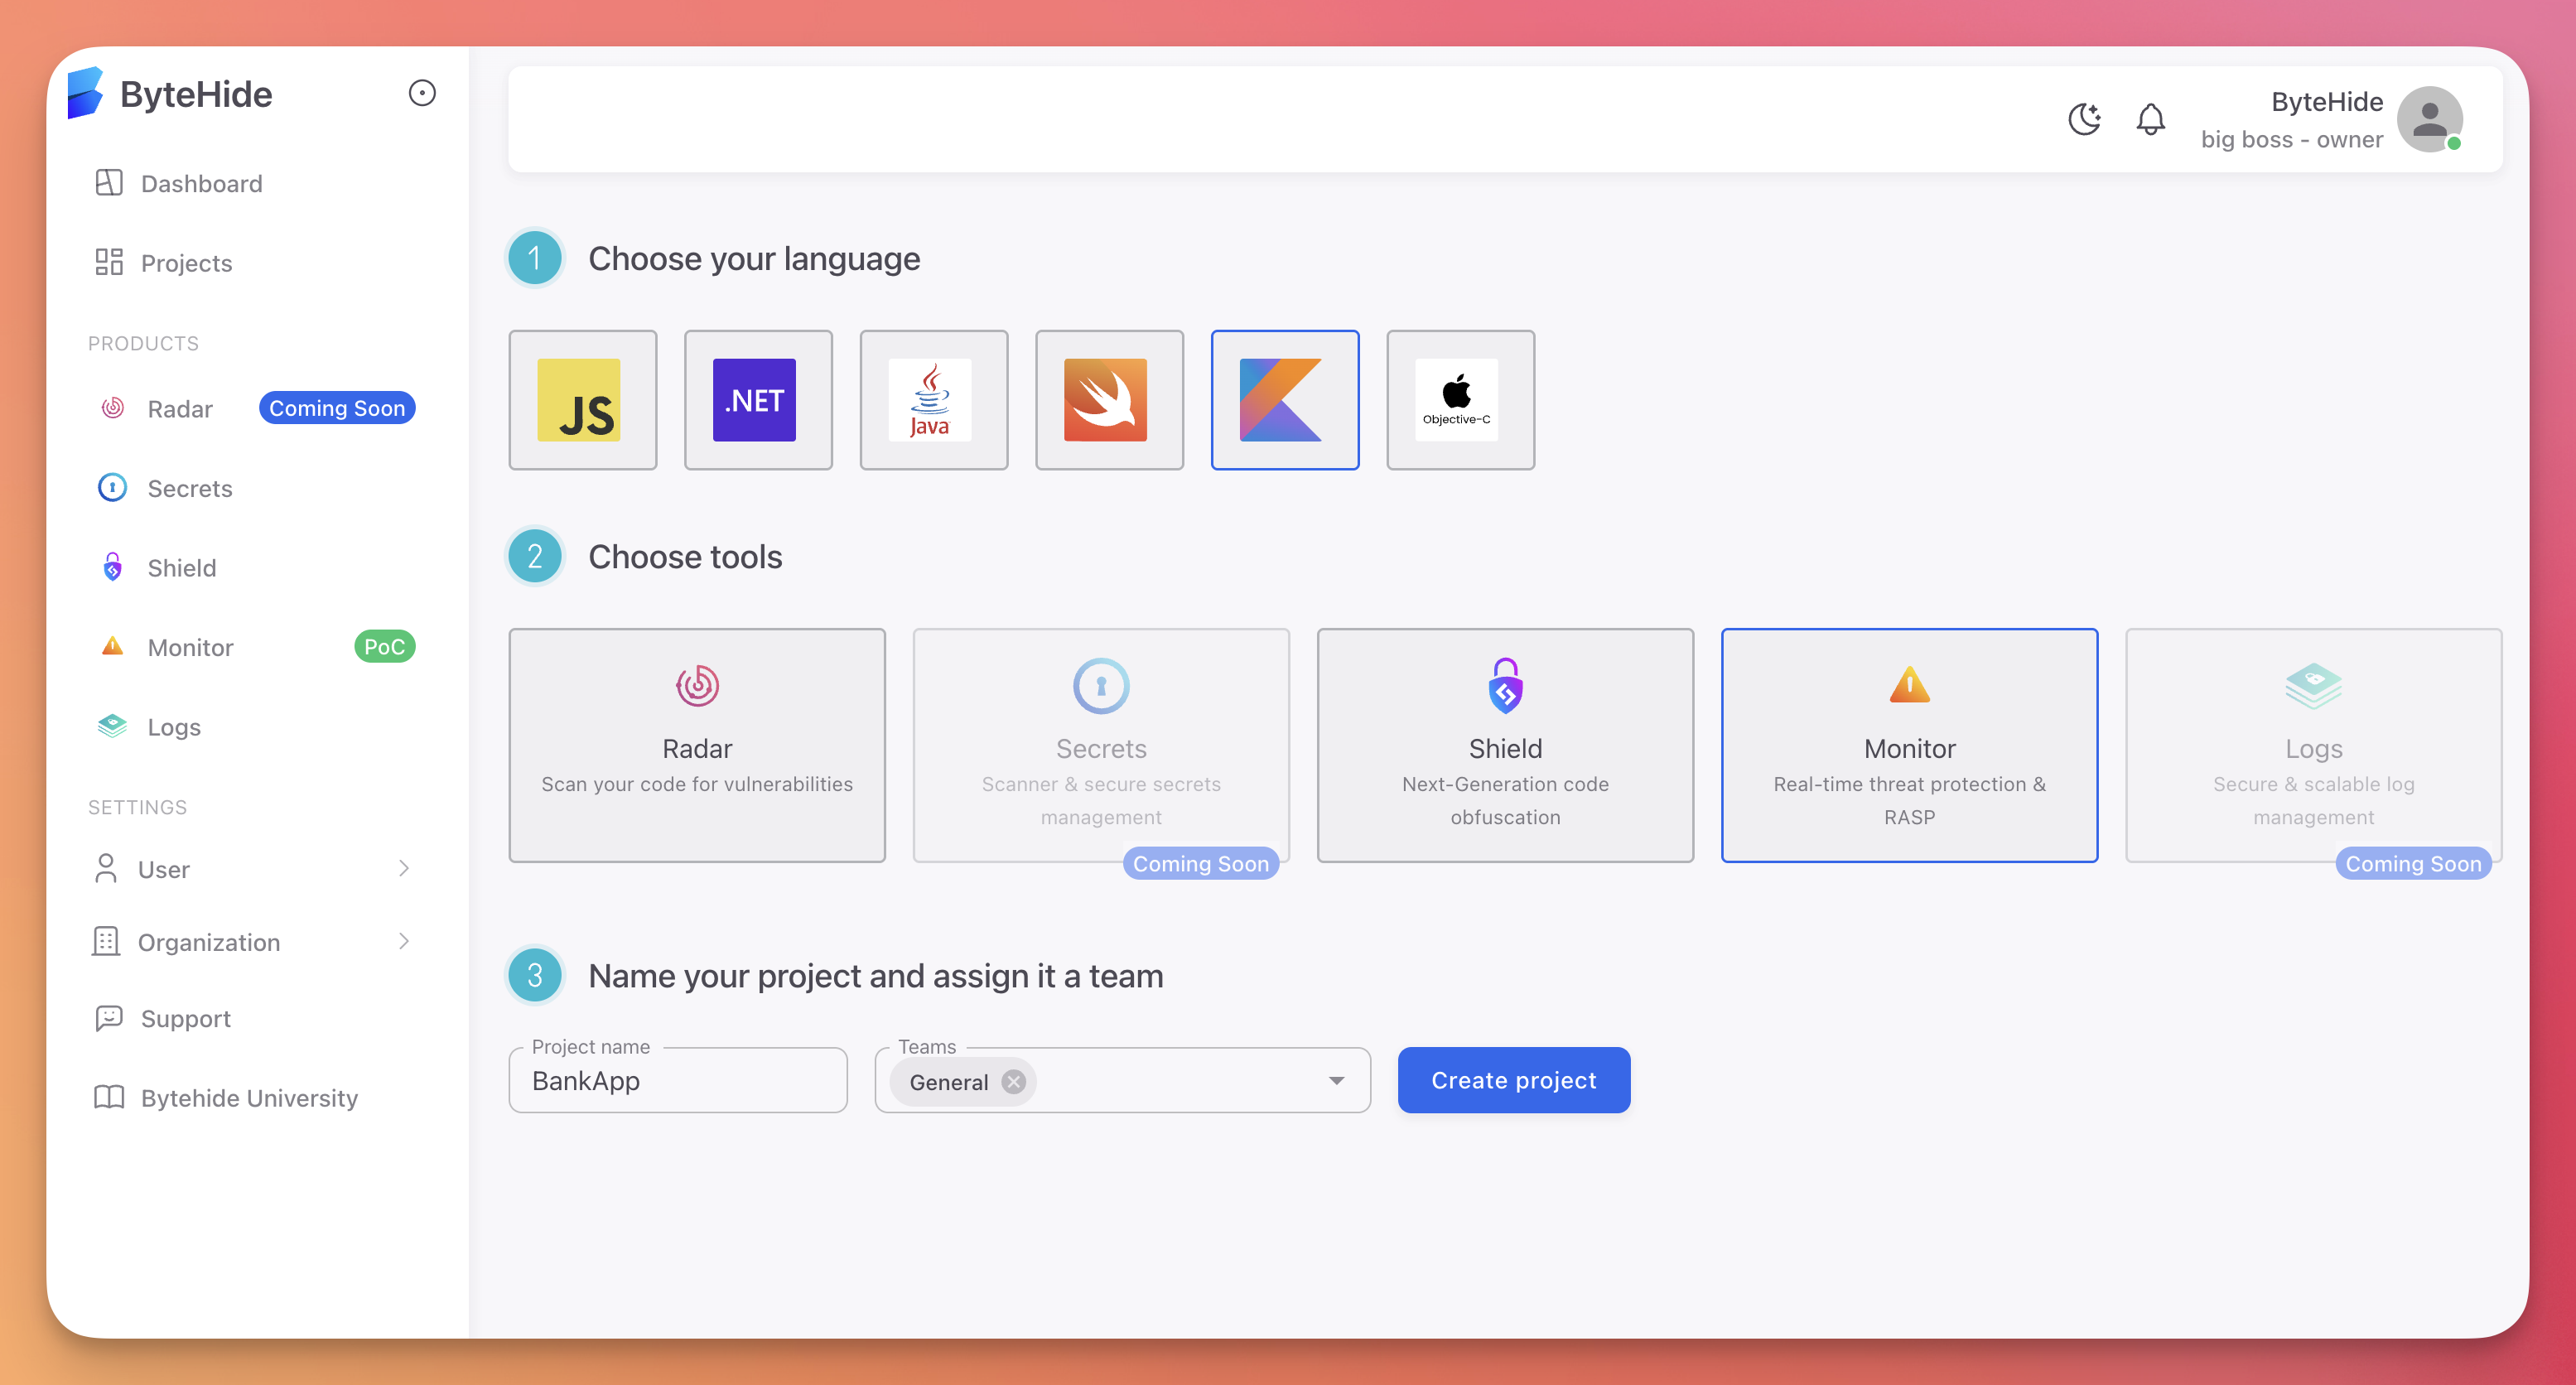 Click to expand
Choose the project type:
- On-Premise / IoT / Edge / Mobile: For desktop applications, mobile apps, IoT devices, and edge computing
- Cloud / API / Web: For web applications, REST APIs, and cloud services
Enter a project name and assign a team
Click Create
The project type determines which protections and firewall features are available. See Cloud Panel Overview for the differences between project types.
Get Your Token
After creation, your project token is available in the Settings tab. Copy it and set it as an environment variable:
export BYTEHIDE_API_TOKEN="bh_your_token_here"export BYTEHIDE_API_TOKEN="bh_your_token_here"Token Security
Never commit tokens to source control. Use environment variables or a secret manager. See Best Practices for token management recommendations.
Next Steps
Quick Start
Install Monitor and run your first protected application
Cloud Configuration
Configure protections and Workflow Rules from the dashboard
Incidences
View detected threats in real-time
Settings
Manage your project token and session configuration