Security Settings
Security is critical
Properly configuring security settings is essential for protecting your secrets from unauthorized access.
Accessing Security Settings
- Log in to ByteHide Cloud
- Select your Secrets project
- Click on the Settings tab
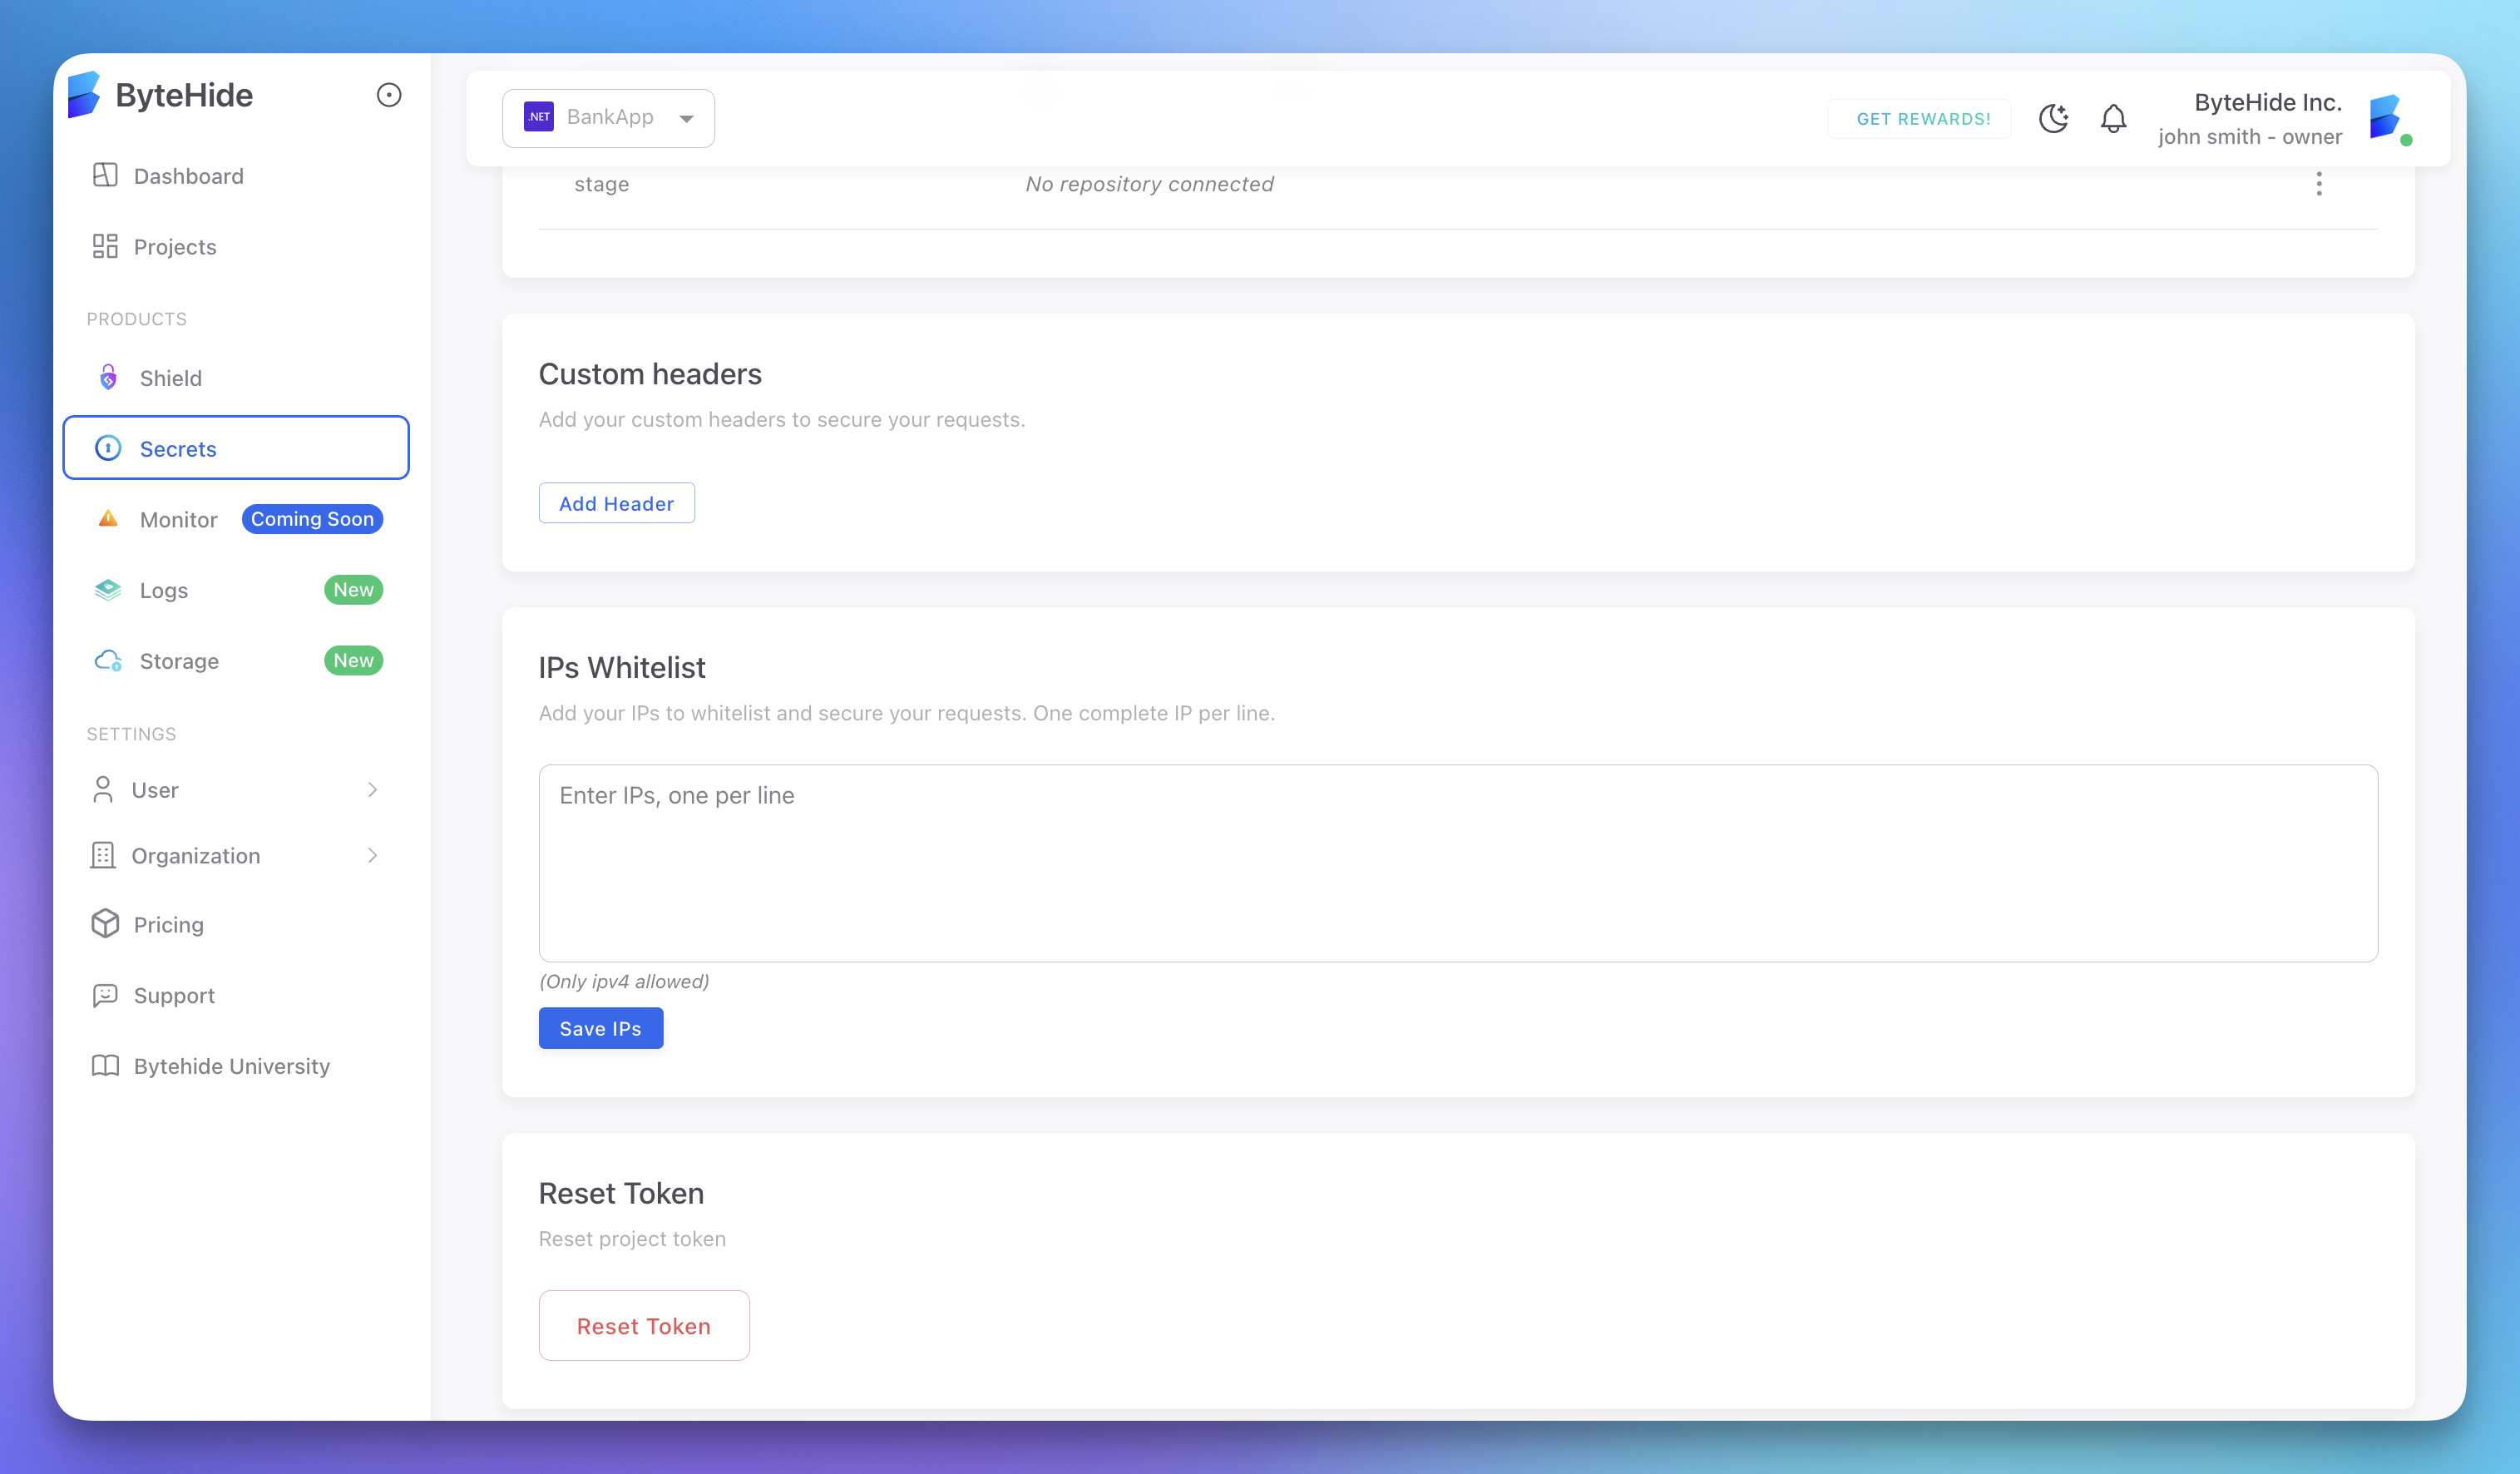
- Navigate to the Security Settings section
 Click to expand
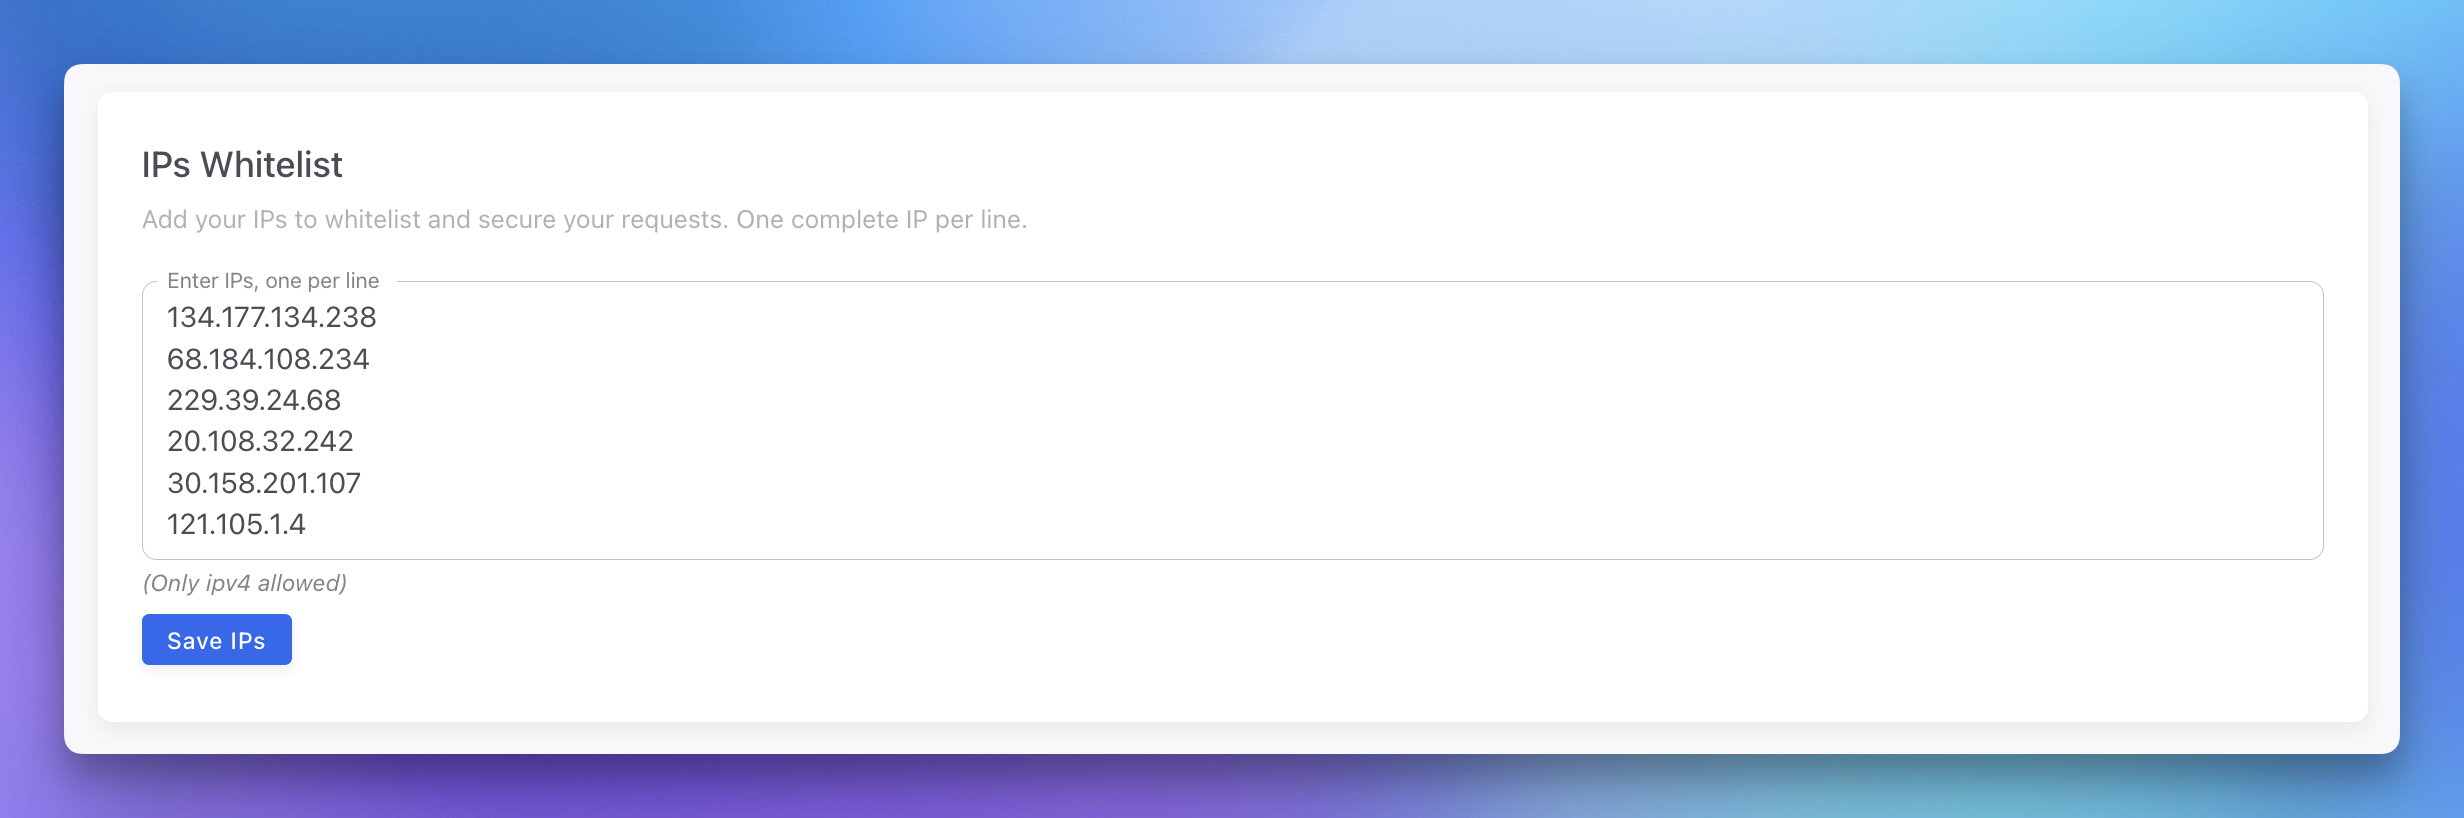
IP Whitelisting
Restrict access to your secrets based on IP addresses:
- In the IP Whitelist section, click Add Header
- Enter an IP address or CIDR range (e.g.,
192.168.1.1or10.0.0.0/24) - Click Save
Only requests from whitelisted IP addresses will be allowed to access your secrets.
 Click to expand
Managing Multiple IPs
You can add multiple IP addresses or ranges:
- Add each IP address separately
- Use CIDR notation for IP ranges
- Include your office, remote workers, and CI/CD servers
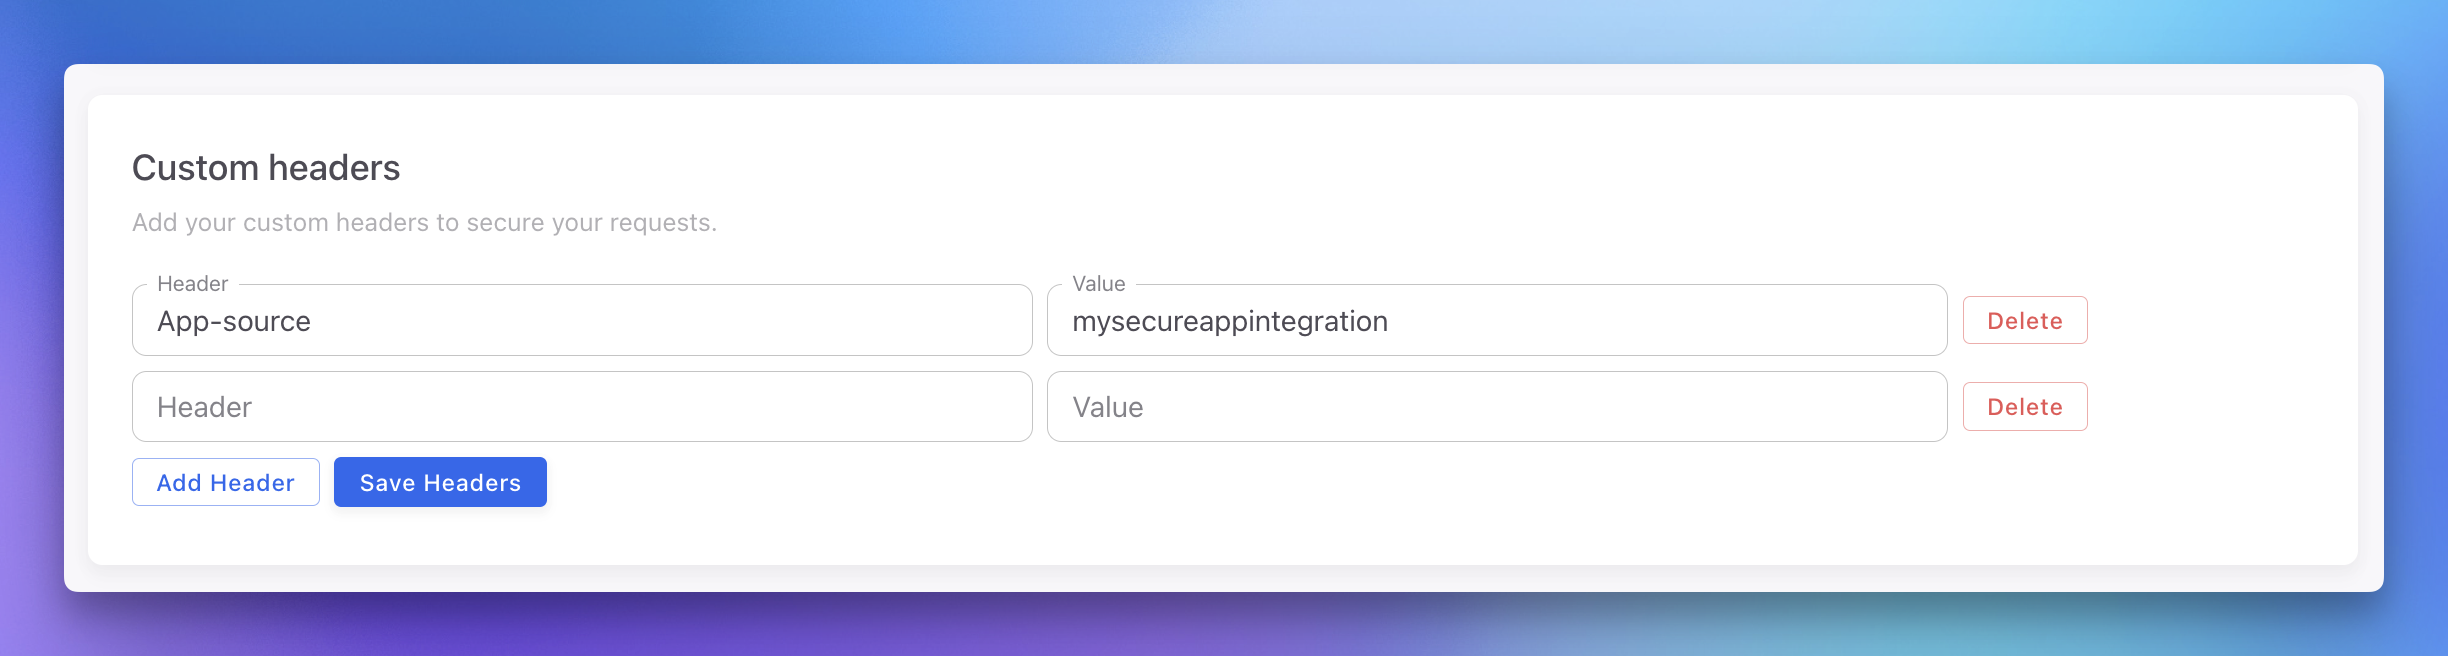
Custom Headers
Add an extra layer of security with custom headers:
- In the Custom Headers section, click Add Header
- Enter a header name (e.g.,
X-API-Key) - Enter a header value
- Click Save
 Click to expand
API requests to the ByteHide service must include these headers to be authorized.
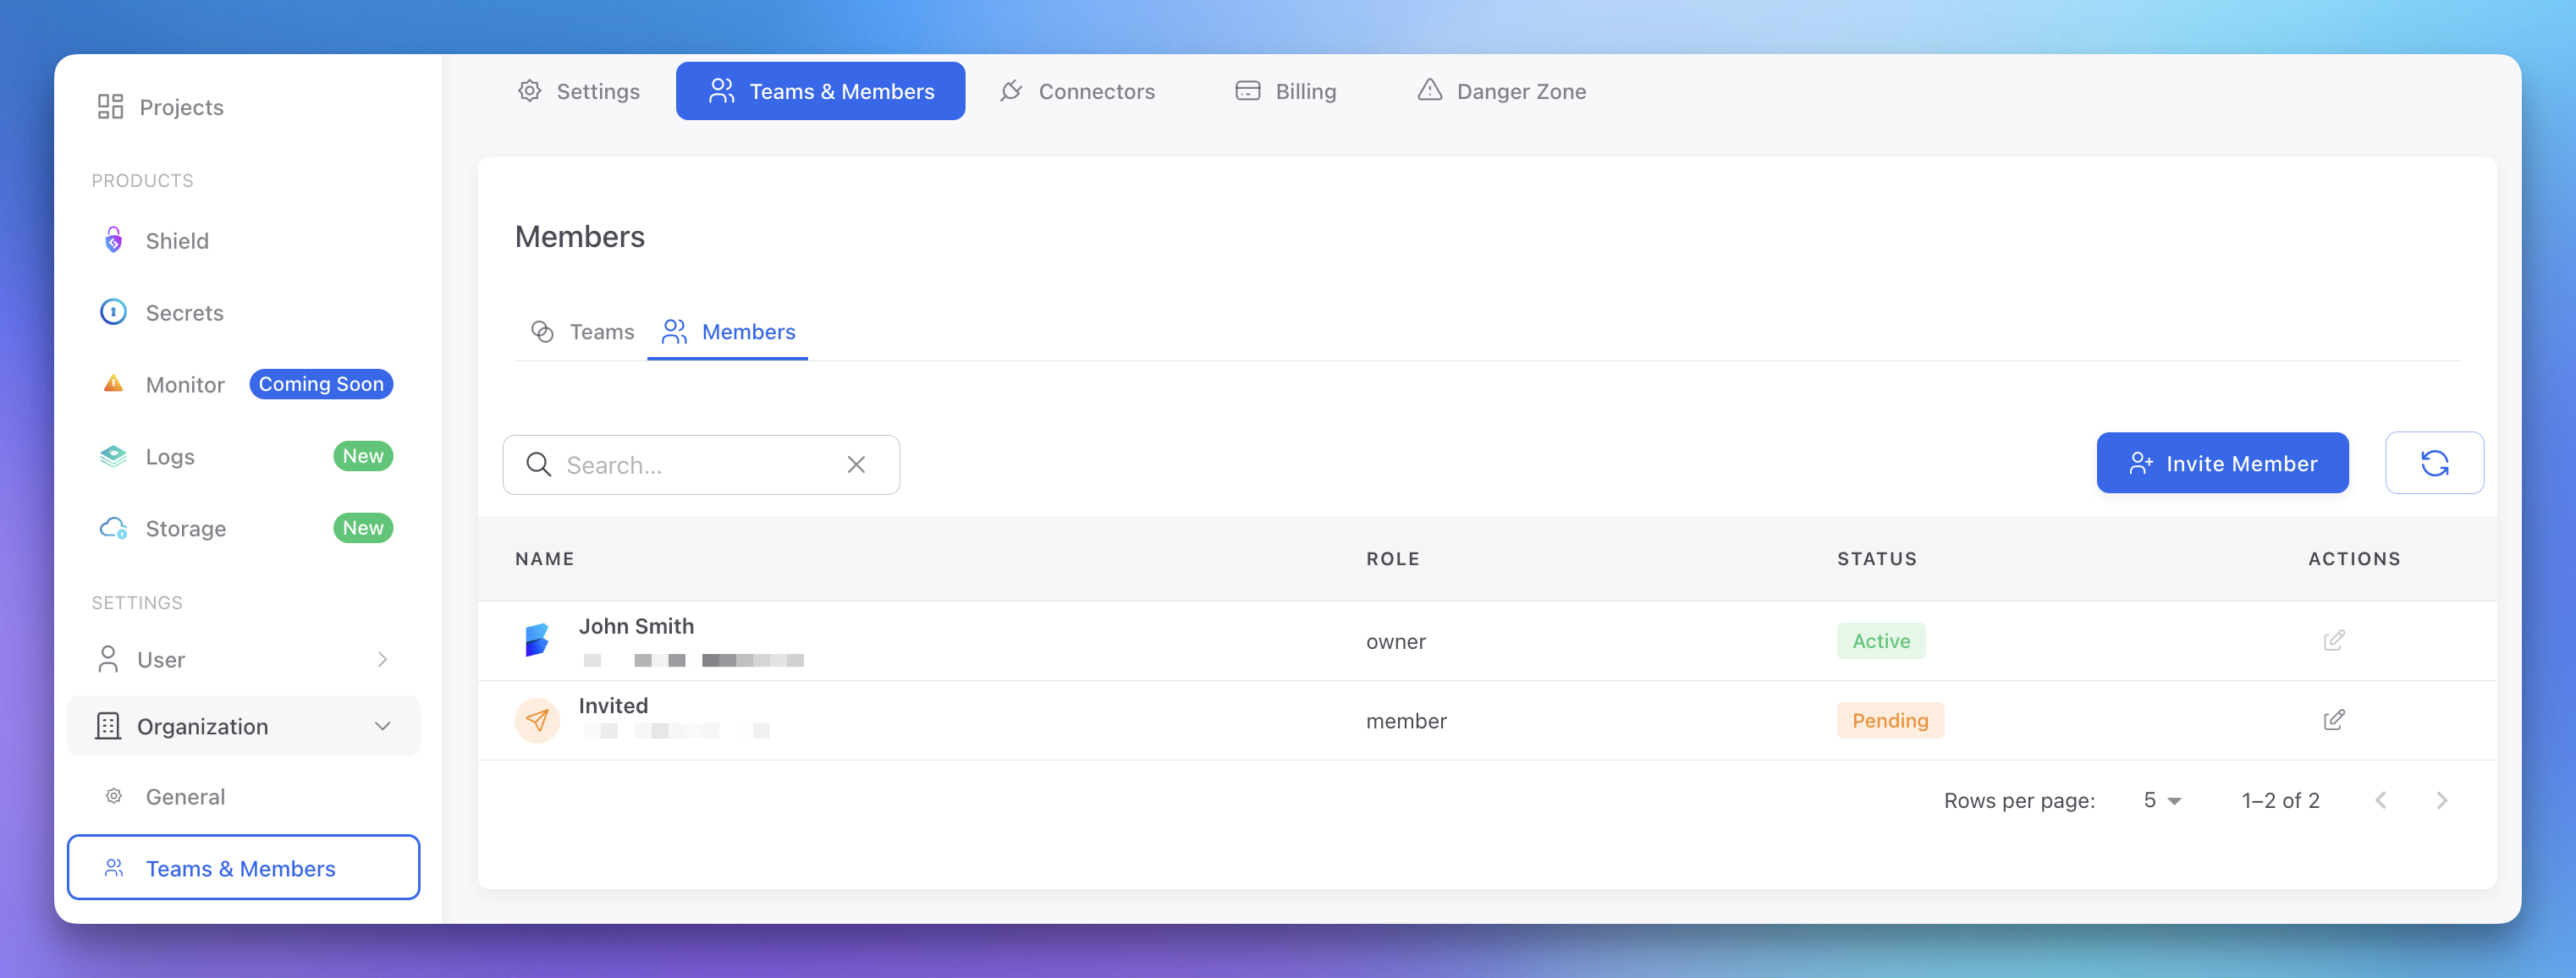
Access Control
Manage who can access your project:
- In the Organization tab, navigate to the Teams & Members section
- Add team members by email address
- Assign appropriate roles
 Click to expand
 - Click Save
Role-Based Access
ByteHide supports different access levels:
- Owner: Full access to all project settings and secrets
- Manager: Can view and edit secrets but not change security settings
- Member: Can only view secrets, not edit them
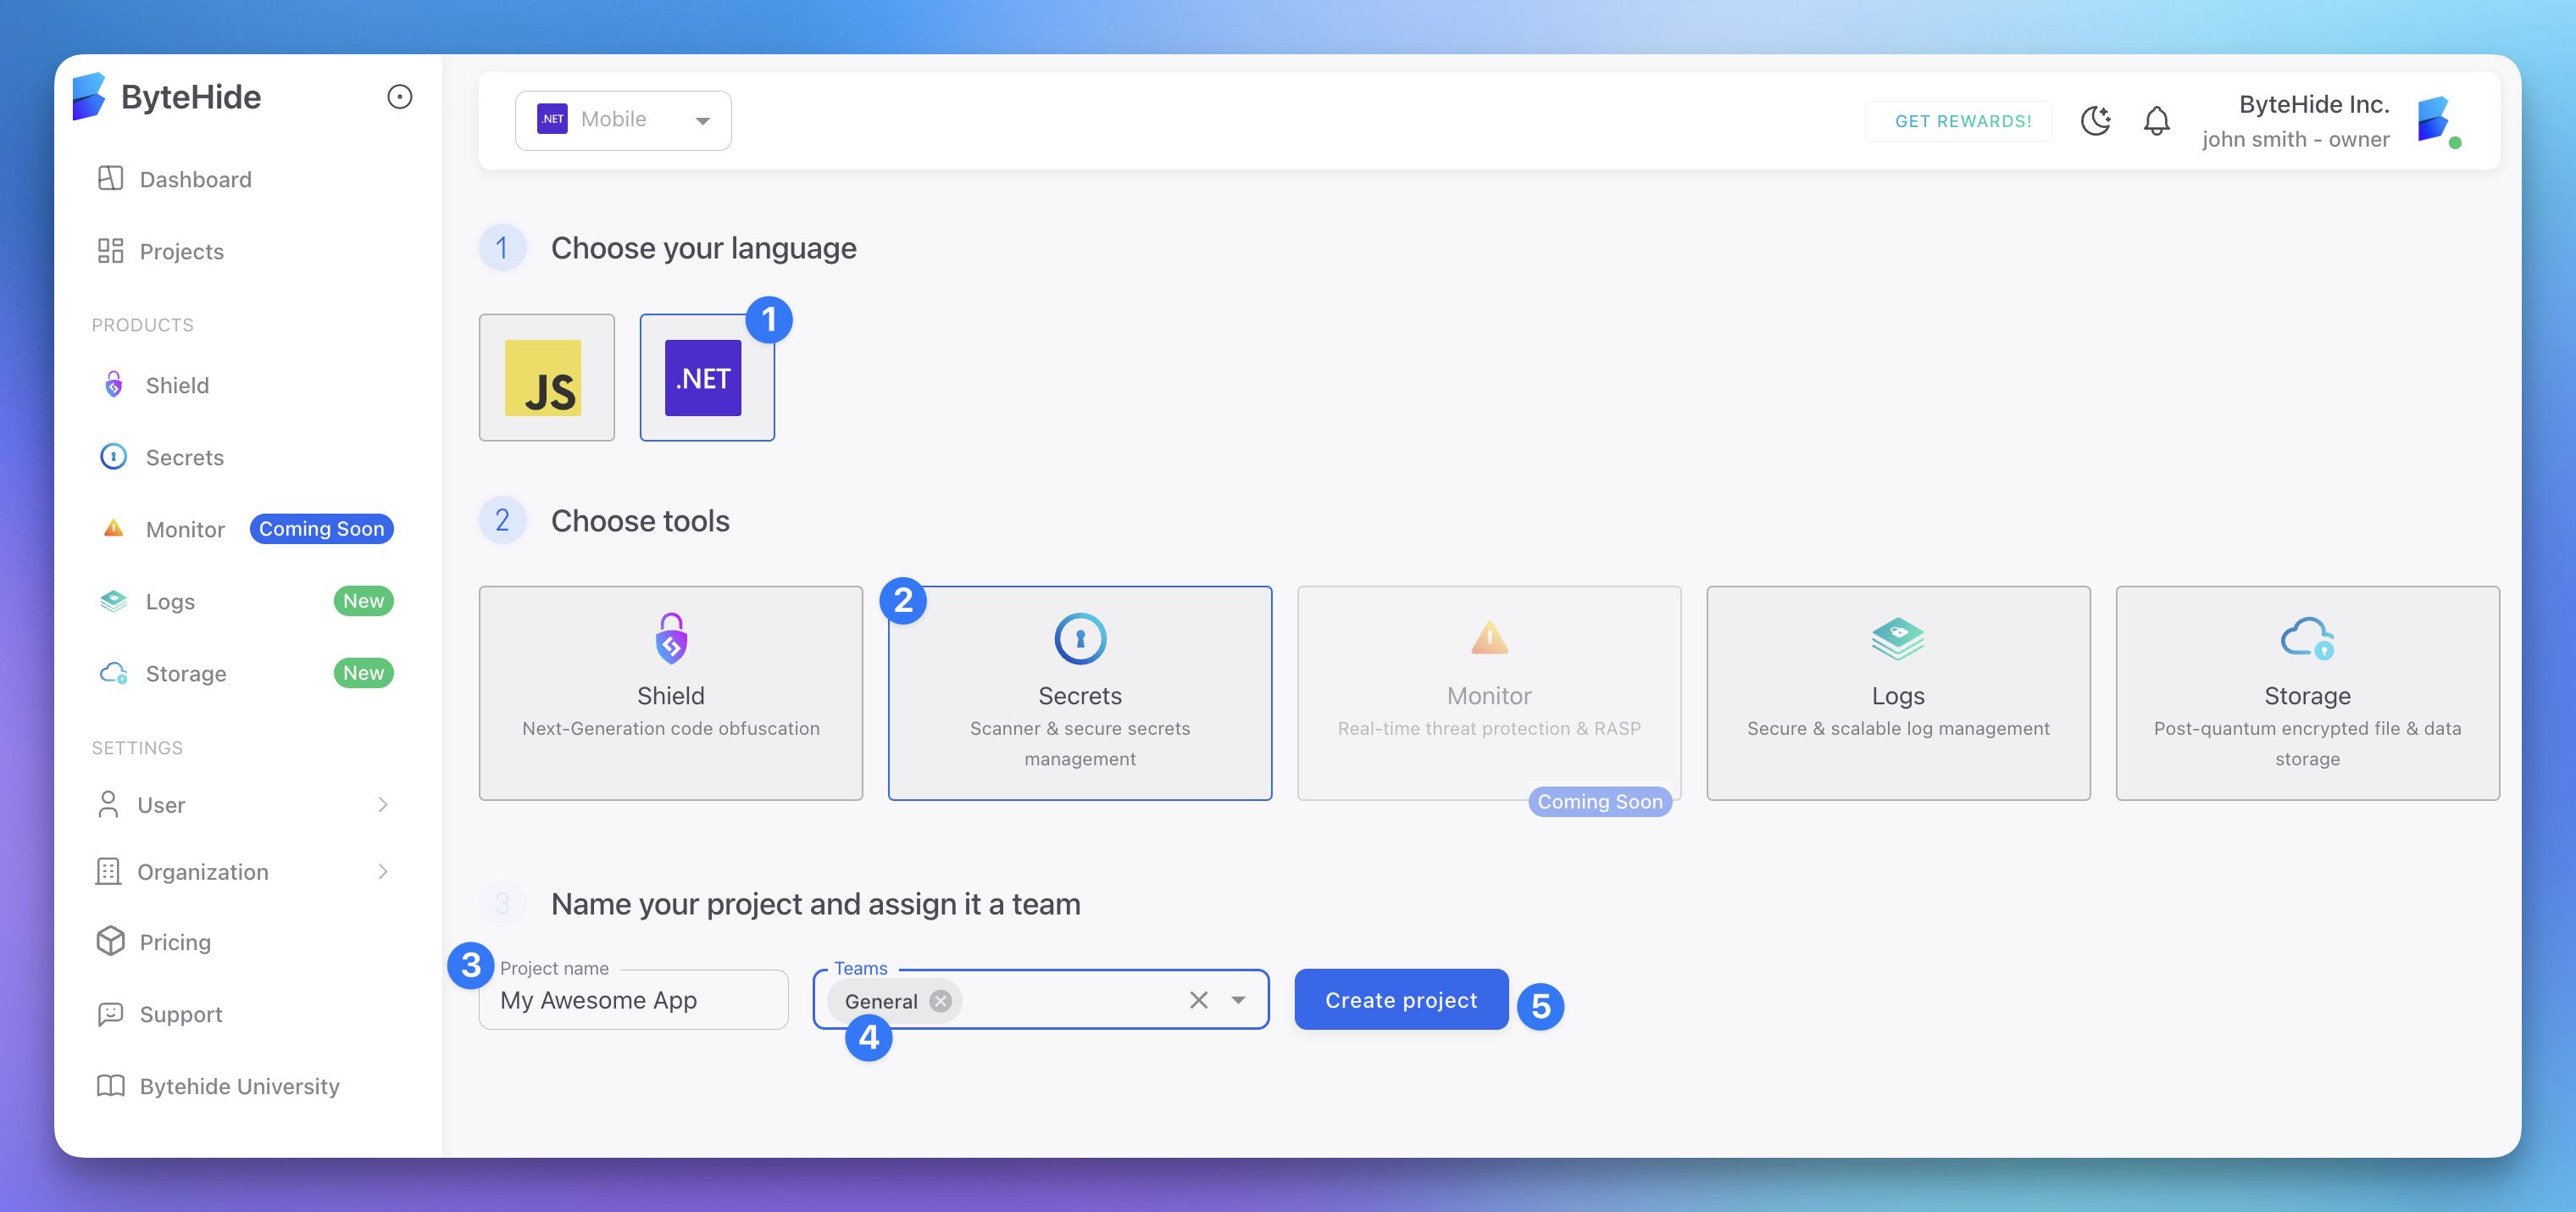
You can group members in teams and select the teams that have access to your Secrets project (in the image see dot 4).
 Click to expand
Audit Logging
Review all actions taken in your project:
- In the Settings tab, navigate to the Audit Logs section
- View a chronological list of all actions
- Filter by user, action type, or date range
Audit logs help you track who accessed or modified your secrets and when.
API Token Management
Manage the API tokens used to access your secrets:
- In the Settings tab, navigate to the API Tokens section
- View all active tokens
- Revoke tokens that are no longer needed
- Create new tokens with specific permissions
Token Rotation
Regularly rotate your tokens for enhanced security:
- Create a new token
- Update your applications to use the new token
- Revoke the old token after confirming everything works
Two-Factor Authentication
Enable two-factor authentication for your ByteHide account:
- Go to your account settings
- Navigate to the Security section
- Enable two-factor authentication
- Follow the setup instructions
This adds an extra security layer when logging in to manage your secrets.
Notification Settings
Configure security notifications:
- In the Settings tab, navigate to the Notifications section
- Enable notifications for security events
- Add email addresses or webhook URLs
- Select which events trigger notifications
Important security events include:
- Failed login attempts
- Secret modifications
- Security setting changes
- New API token creation
Best Security Practices
Least Privilege
Follow the principle of least privilege:
- Grant minimal access required for each user
- Regularly review and audit access permissions
- Remove access when no longer needed
Regular Audits
Conduct regular security audits:
- Review all access logs
- Check for unusual patterns
- Verify IP whitelist entries
- Rotate API tokens
Environment Isolation
Apply different security settings for different environments:
- Strict controls for production
- Appropriate controls for development and testing